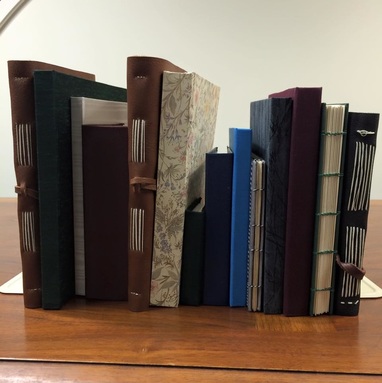
 The Book Beautiful -- Spring 2015 Collection Leather, long- stitch, miniature, Coptic, Japanese stab bindings, embroidery... We did it all
 As a final project for The Book Beautiful, we were required to produce our own book... from scratch (yikes!) Fortunately, the research we had accomplished throughout the semester turned out to be pretty useful. Here's the story of how my little baby book came to be.
Decisions decisions...
Initially I had wanted to create a spring, or ledger, binding for my book. In this particular style, there is no spine, which allows the book to lie completely flat when opened. This type of binding is ideal for accounting books where a lot of writing must be done and the entire page must be put to use. Unfortunately, my research left me with a lot to be desired in terms of instruction and guidance. The few articles I found on the subject were comprised of confusing diagrams and pictures of the finished project. With only three weeks to complete such a daunting task and little help from my resources, I figured it might be best to simply create a regular case binding.
Getting Started
Since my initial plans fell through, I had to get busy researching and learning how to make a regular case binding. Eventually I had hit my limit for YouTube videos, yes... I do have a limit, and started ordering supplies. Being the ambitious yet sometimes moronic person I am, I ordered 20 sheets of 24" x 35" paper to make a 5"x7" book. If you can't do the math, that's... well neither could I. My goal was to get precisely 192 pages out of those 20 sheets, but of course that was not what happened. As I tirelessly cut paper after paper in the sweltering basement of Morrow Library, I realized that my decision to not become an engineer was a brilliant one because my calculations were off... and I mean jumped the track, rolled down a hill, and sank to the bottom of the river off. I had my 192 pages... with 13 full-sized sheets of Mohawk superfine still staring at me.
After cutting my 5"x7" book, I decided that I wanted to make a miniature book out of my scraps instead.. because I'm Amy, and I always work harder not smarter.
After the paper was cut, the signatures were sewn. For at least a week I drove around with sewing supplies in the front seat of my car and would work on my signatures anytime I got a chance... which included a parking ticket at the garage, but we won't go there.
The Rest of the Book
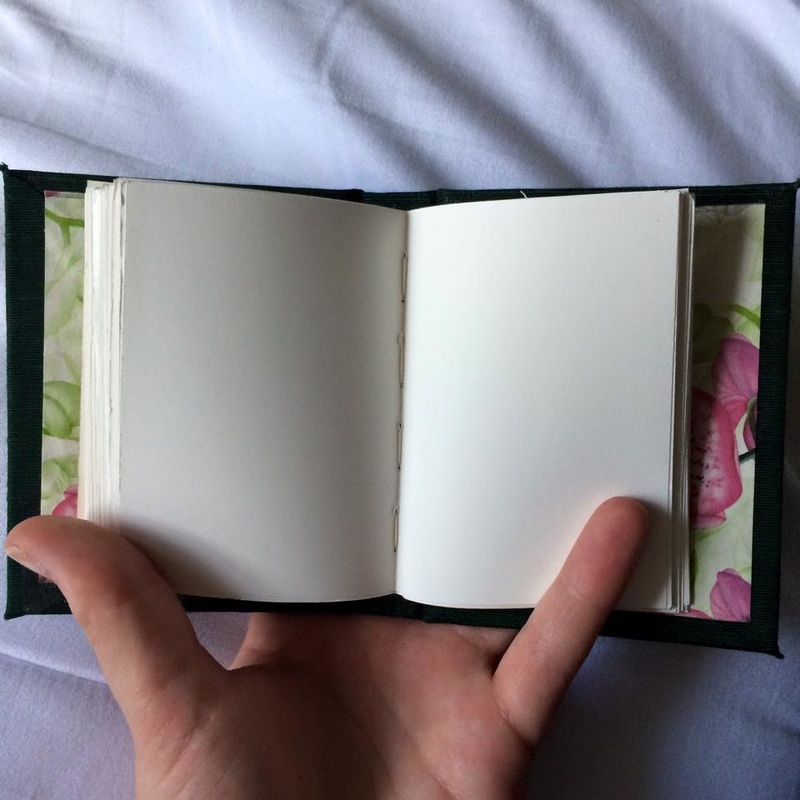
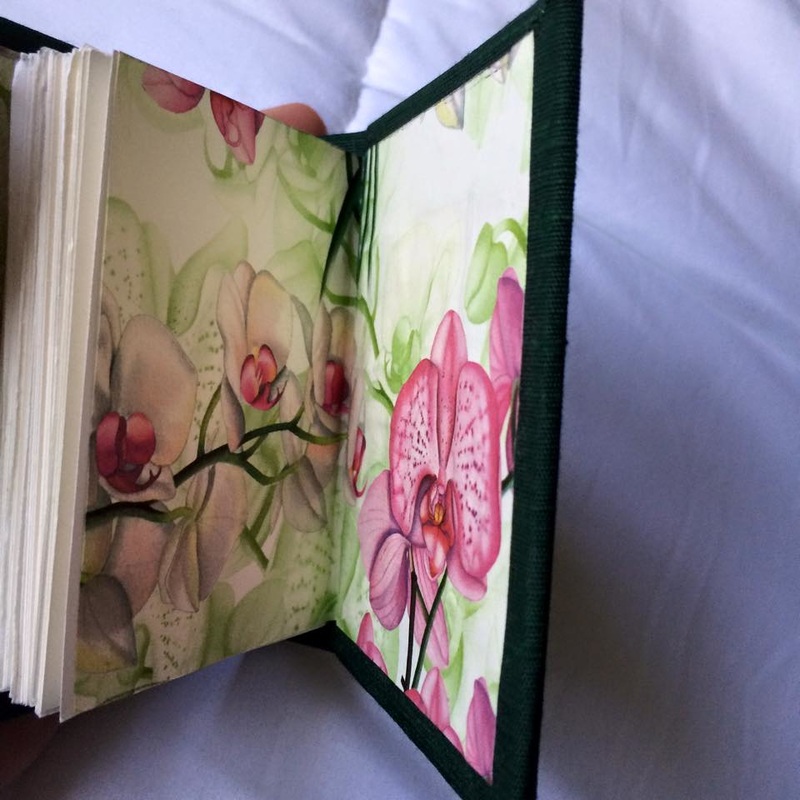
Paper cutting and sewing were the most time consuming steps in the process, and since I was making a miniature book instead, the boards, endpapers, and fabric were small and simple. Once boards were cut to the appropriate size, they were glued to the green Japanese silk cloth to create the actual binding, then the endpapers and textblock were added...
and a child was born.
Decisions decisions...
Initially I had wanted to create a spring, or ledger, binding for my book. In this particular style, there is no spine, which allows the book to lie completely flat when opened. This type of binding is ideal for accounting books where a lot of writing must be done and the entire page must be put to use. Unfortunately, my research left me with a lot to be desired in terms of instruction and guidance. The few articles I found on the subject were comprised of confusing diagrams and pictures of the finished project. With only three weeks to complete such a daunting task and little help from my resources, I figured it might be best to simply create a regular case binding.
Getting Started
Since my initial plans fell through, I had to get busy researching and learning how to make a regular case binding. Eventually I had hit my limit for YouTube videos, yes... I do have a limit, and started ordering supplies. Being the ambitious yet sometimes moronic person I am, I ordered 20 sheets of 24" x 35" paper to make a 5"x7" book. If you can't do the math, that's... well neither could I. My goal was to get precisely 192 pages out of those 20 sheets, but of course that was not what happened. As I tirelessly cut paper after paper in the sweltering basement of Morrow Library, I realized that my decision to not become an engineer was a brilliant one because my calculations were off... and I mean jumped the track, rolled down a hill, and sank to the bottom of the river off. I had my 192 pages... with 13 full-sized sheets of Mohawk superfine still staring at me.
After cutting my 5"x7" book, I decided that I wanted to make a miniature book out of my scraps instead.. because I'm Amy, and I always work harder not smarter.
After the paper was cut, the signatures were sewn. For at least a week I drove around with sewing supplies in the front seat of my car and would work on my signatures anytime I got a chance... which included a parking ticket at the garage, but we won't go there.
The Rest of the Book
Paper cutting and sewing were the most time consuming steps in the process, and since I was making a miniature book instead, the boards, endpapers, and fabric were small and simple. Once boards were cut to the appropriate size, they were glued to the green Japanese silk cloth to create the actual binding, then the endpapers and textblock were added...
and a child was born.


 RSS Feed